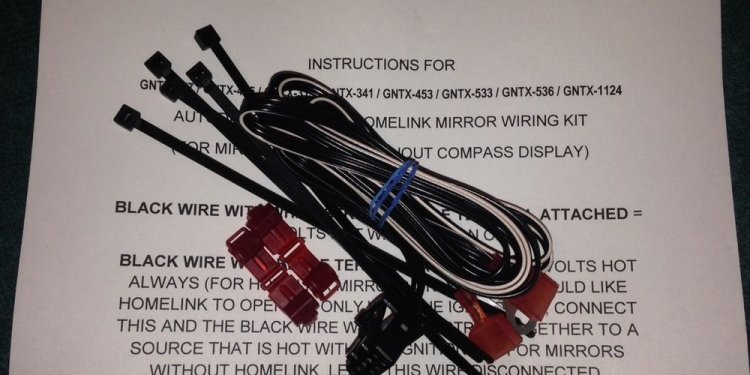
HomeLink Wireless control system
The HomeLink® Wireless Control System is a great feature included with hundreds of models of cars, providing a convenient way to replace up to three handheld radio frequency (RF) transmitters used for controlling garage doors, security systems, and home lighting. However, most users of HomeLink® rarely use it for more than just controlling the garage door.
HomeLink® learns commands sent from RF remotes, which are then repeated whenever you push a HomeLink® button. This system works with RF remotes that are within a 288-433MHz range, like many garage door remotes that commonly operate within this frequency. However, the INSTEON RF signal operates at 915MHz. Since INSTEON signals operate in a higher range than many RF remotes, a few preliminary steps are necessary to connect your HomeLink® system to your INSTEON controlled devices.
Step 1: EZX10RF Placement
After installing an INSTEON device(s), plug the EZX10RF into an available outlet. It is highly recommended to place the EZX10RF as close as possible to where activation of the HomeLink® system will occur. For most people, it will be activated from the driveway, so place the EZX10RF into a room closest to that specific location.
Step 2: Program The X10 Keychain Remote for Two Devices into the EZX10RF
- Program the same "ON" command from the X10 remote to the EZX10RF converter.
- Plug the EZX10RF into the selected outlet and observe its LED flash a number of times and then glow steadily after a few seconds.
- The EZX10RF is now ready to program.
- For convenience, a pass-through outlet is provided. Ensure that any device plugged into this outlet is not a RF emitter that would interfere with the EZX10RF.
Step 3: How to Setup INSTEON Control, Programming an X10 Code, and Linking INSTEON devices
Controlling INSTEON devices involves teaching the EZX10RF the X10 RF based command that will be used as the trigger and linking the INSTEON device(s) that will respond.
The following steps are used to link one or several INSTEON devices on a single command from the X10 remote:
- Press and hold the pushbutton on the side of the EZX10RF for four seconds, then release it. The LED on the EZX10RF should be flashing about once per second. The flashing LED means the EZX10RF is now listening for an X10 signal.
- Using the wireless X10 transmitter, press the "ON" button that you will want to control this specific scene with. The LED on the EZX10RF will begin to flash more rapidly upon "hearing" the X10 signal. The rapid flashing of the LED signifies that the EZX10RF is now listening for INSTEON devices to be linked.
- Press and hold the "SET" button on the INSTEON device to be controlled until the load flashes. The LED should flash once and then turn on to solid. The LED on the EZX10RF may flash briefly, but will continue to blink about twice per second indicating readiness to link additional INSTEON devices to this group.
- If any additional INSTEON devices need to be linked, then repeat step 3. Otherwise, press and hold the pushbutton on the EZX10RF for four seconds, then release it. At this point the LED on the EZX10RF will turn off.
- A timer (from .5 to 15.5 minutes) can now be added to delay the "OFF" command regardless of the duration of the incoming wireless signal. If no timer is needed, end the linking process by pressing and holding the pushbutton on the EZX10RF for four seconds. The EZX10RF LED will glow steadily again. If a timer is needed, tap the pushbutton on the EZX10RF 1-31 times (each tap adds 1/2 minute to the timer), then press and hold its pushbutton for four seconds to end the linking session. Note: If you notice that the LED continues to blink, press the pushbutton once to finish.
Step 4: Program the Keychain Remote into Your HomeLink® System
Program one of the "ON" buttons from the Wireless X10 Keychain Remote into an available HomeLink button. Programming steps will differ between make and models, so it is best to refer to your vehicles HomeLink manual or visit the HomeLink programming page.


